How to make a shower in Minecraft
Check out how to make an improvised shower in Minecraft for your house and create an interaction system with Redstone in it.

Making a shower in Minecraft is possible in an improvised way, as the object was not originally intended for the construction game. The task becomes even more complex if the player wants some level of interaction to open and close the water. In the tutorial below, check out the step-by-step guide on how to make an improvised shower for your house in Minecraft.
Creating a static shower is quite easy. However, this object only serves to decorate the environment or only has water inside – that is, there is no mechanic for opening and closing the tap. The difficulty only arises when creating a system to control the flow of water through interaction, such as with a lever. In this case, you need to use some Redstone to send a signal and a Sticky Piston to push and pull a block. Despite this, with a little optimization, there is no need to spend many extra resources on this creation.
How to make a shower in Minecraft
- Step 1. Build the place where you want to place the shower in Minecraft;
- Step 2. Make a hole in the ceiling where the water will come out and another in the floor to attract the water without it spreading;
- Step 3. Using a Bucket of Water, position a block of Water in the hole in the ceiling so that it becomes a permanent source of water;
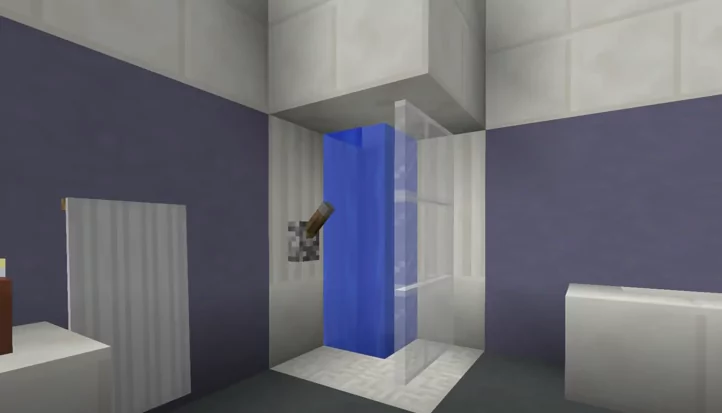
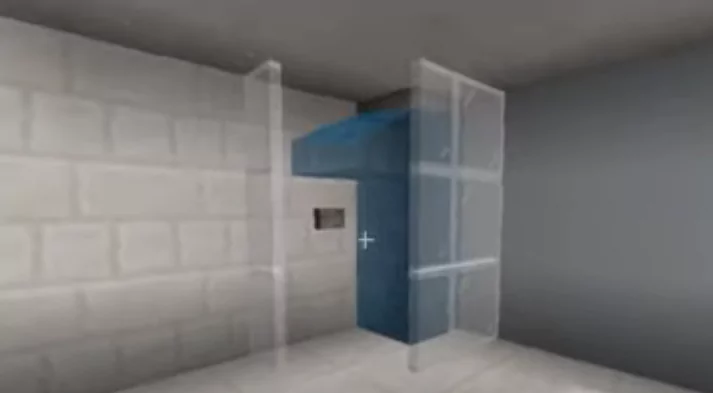
- Step 4. Place some glass on the side to simulate a shower or some other block that can prevent water from spreading to the sides;
- Step 5. Do the same for the front of the shower. An Iron Trapdoor can block water without affecting the player’s passage and even has the appearance of a drain;
- Step 6. A Banner can serve as a towel or shower curtain to complete the look;
- Step 7. The shower is now ready, but it will be on permanently. It is then possible to automate it to create the possibility of turning it on or off;
- Step 8. Use a Lever, a Redstone Torch, and a Sticky Piston to create a system like the one in the image. When pressing the lever, the block will be pulled back and release the water;
- Step 9. Try the new system and see if all parts move as desired before closing it with the wall;
- Step 10. Done! Your Minecraft shower is now ready and fully functional.

